To diagnose PC overheating, install a temperature monitor such as HWiNFO or Core Temp, then read the CPU and GPU temperatures while the PC sits idle and again under load, and compare those figures to the safe ranges. A CPU is healthy holding in the 30s to mid 40s Celsius at idle and the 60s to mid 80s under load, and a GPU is healthy under about 85 degrees while gaming. Overheating is confirmed when a part climbs to its maximum rated temperature and stays there while its clock speed drops, which is thermal throttling. The reading also tells you which part is at fault and whether the cause is dust, a stopped fan, dried paste, or poor airflow.
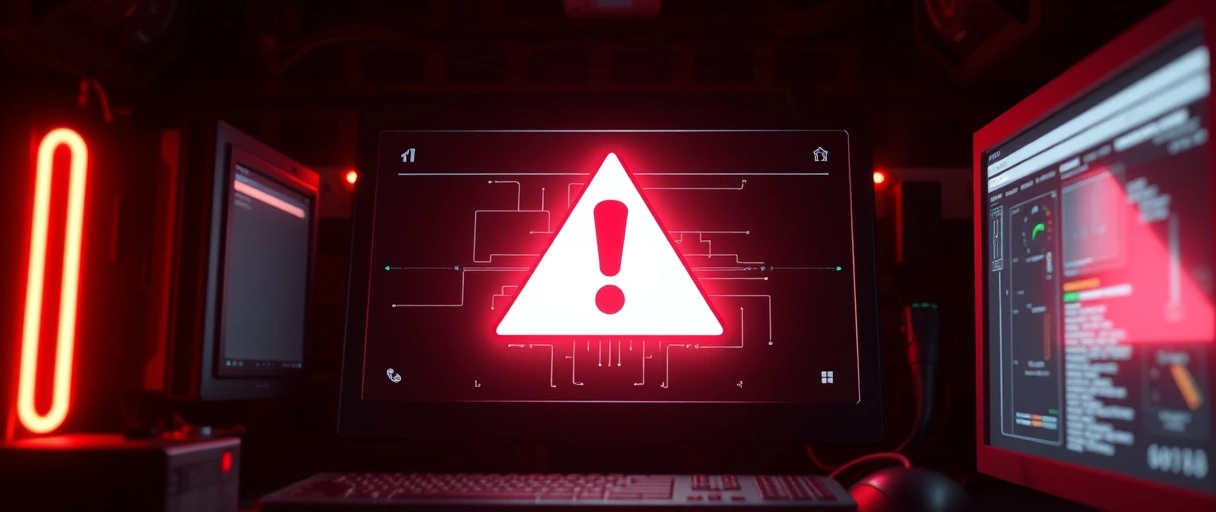
An overheating PC shuts down under load, drops to low clock speeds, or runs its fans at full speed because the cooling system cannot move heat away from the processor or graphics card fast enough. The single rule that makes diagnosis reliable is to measure first and guess later: a number from a monitoring tool tells you whether the PC is genuinely too hot, which part is too hot, and how close it sits to its limit. This guide covers what temperatures count as too hot, then the exact steps to read and interpret your own.
What Temperatures Are Too Hot?
A temperature is too hot when a part holds at its maximum rated junction temperature under load and its clock speed falls to compensate. Modern chips are designed to boost right up to that ceiling, so a brief touch is normal; a sustained reading there is not. The table below sets the four zones for the CPU and the GPU, measured in degrees Celsius:
| Zone | CPU (Intel / AMD) | GPU core | What it means |
|---|---|---|---|
| Safe (idle) | 30 to 45 | 30 to 50 | Healthy at rest. GPU fans may be off in zero RPM mode. |
| Warm (load) | 60 to 85 | 65 to 83 | Normal under gaming or a stress test. No action needed. |
| Throttling | 90 to 100 | 84 to 90 | At or near the limit; clocks start dropping. A cooling fault is likely. |
| Danger | 100+ (Intel) / 95+ (AMD) | 90+ core, 105+ hotspot | Maximum junction temperature. Sustained operation here shortens life and forces shutdowns. |
The danger threshold differs by chip, so read the limit for the part you actually own rather than a single round number. The component cards below give the values that matter for 2026 hardware.
How Do You Diagnose PC Overheating?
Diagnose overheating by measuring temperatures with a monitoring tool, comparing idle and load readings to the safe ranges, then isolating which part is hot and why. Each step below narrows the fault from “the PC feels hot” to a specific component and a specific cause, in the order that wastes the least effort:
- Install a temperature monitor. Download HWiNFO and start it in sensors-only mode, or use Core Temp for a lighter per-core CPU view. The rows that matter are CPU Package, the per-core temperatures, GPU Temperature, and GPU Hotspot. Our walkthrough on how to monitor CPU and GPU temps covers the setup in full.
- Record the idle reading. Let the PC sit at the desktop for a few minutes with nothing open and note the CPU and GPU temperatures. A CPU above 50 degrees or a GPU above 60 degrees at true idle already points to dust, a background process, or weak airflow.
- Record the load reading. Run a CPU stress test such as Prime95 and a GPU test such as FurMark, watch the numbers climb for about ten minutes, and write down the peak for each part. This is the figure you compare to the table above.
- Identify CPU versus GPU. Load each part on its own, Prime95 for the processor with no game open and FurMark for the card, so the one that reaches its limit in isolation is the one with the fault. The two have separate coolers, so a hot reading on one does not implicate the other.
- Check that every fan spins. Watch the CPU cooler fan, the case fans, and the graphics card fans at power-on, and read their RPM in the monitor. A fan reporting zero RPM under load has stopped, and on a liquid cooler a pump reading zero has stalled.
- Inspect dust and airflow. Open the side panel and look at the heatsink fins, the fan blades, and the intake filters. Caked dust insulating the fins or a clogged filter is the most common reason temperatures climb slowly over months.
- Consider a repaste last. If one part runs ten or more degrees hotter than it used to with clean fins and spinning fans, the thermal paste between it and its cooler has likely dried out. This is the deepest check, so it comes after the quick ones rule out everything else.
The pattern of the readings narrows the cause on its own. A sudden shutdown within minutes of load points to a stopped fan or a stalled pump, while a slow climb over months points to dust or aging paste. A part that is hot only in a warm room is fighting high ambient temperature rather than a hardware fault. Once a tool has confirmed a part runs too hot, you can use the monitoring guide to set logging and catch a brief spike you would otherwise miss while watching a moving number.
How Do You Spot Thermal Throttling?
Thermal throttling is the clearest single sign that a PC has an overheating problem, because the chip itself is reducing performance to stay alive. It is not subtle once you know what to watch for in a monitoring tool.
A processor that holds below the mid 80s under a full Prime95 load is cooling adequately. One that climbs to 100 degrees on Intel or 95 on AMD and then drops its boost clocks is throttling, and the diagnosis moves on to which fix applies.
What Do the Readings Tell You to Fix?
Once the diagnosis names the hot part and the likely cause, the reading points to a specific repair. A dried paste layer, the deepest of the common causes, leaves a processor running ten or more degrees too hot even with clean fins and a spinning fan.


- Slow climb over months, dust on the fins: clean the heatsinks, fan blades, and intake filters. This restores the airflow a clogged cooler loses and often drops temperatures several degrees.
- Sudden shutdown, a fan or pump at zero RPM: reconnect or replace the stopped fan, or replace a stalled AIO pump. A heatsink with no airflow overheats however good the paste is.
- One part ten or more degrees too hot, fins clean: reapply thermal paste between that part and its cooler, since a dried layer no longer transfers heat.
- Warm case, fans always at full speed: improve case airflow with intake and exhaust fans, and move the PC out of an enclosed cabinet to cut ambient heat.
- Still throttling after all of the above: the cooler is undersized for the chip and needs a larger air cooler or a liquid loop.
The full fix procedures live in the dedicated guides. A laptop that runs hot is a related but separate job, covered in how to fix an overheating laptop. If the heat is causing the system to lock up or restart on its own, the symptoms overlap with a computer that keeps freezing and random PC shutdowns, where a thermal cause is one of the first things to rule out with the same temperature readings.
Which Tool Reads Temperatures, and Is There a Quick Checker?
HWiNFO, Core Temp, and HWMonitor all read CPU and GPU temperatures; the difference is how much detail each shows. Pick the one that matches how deep you need to go:
- HWiNFO: the most complete. Sensors-only mode lists CPU Package, every core, GPU Temperature, GPU Hotspot, fan RPM, and the thermal throttling flag, and it can log to a file for a long session.
- Core Temp: lightweight and focused on the processor, showing per-core temperatures and the Tjmax for your chip with minimal system impact.
- HWMonitor: a simple table of CPU, GPU, voltage, and fan readings. Note that its CPU Package row reports the hottest part, so it can read higher than the per-core numbers.
For a fast sanity check without installing anything, the site includes a CPU and GPU temperature checker tool: you enter the component and the temperature you read, and it returns whether that figure is safe, warm, throttling, or in the danger zone for that part. It is a way to interpret a single reading against the 2026 limits above, not a replacement for live monitoring during a load test.
Last Thoughts on Diagnosing PC Overheating
Diagnosing PC overheating is a measurement task before it is a repair task. Install a monitoring tool, read the CPU Package and GPU temperatures at idle and under load, and compare them to the safe ranges: 30 to 45 degrees idle and 60 to 85 under load for the processor, and under about 85 degrees for the graphics card. Overheating is confirmed when a part holds at its maximum junction temperature, 105 degrees on Intel Core Ultra or about 95 on AMD Ryzen, while its clock speed drops. That thermal throttling is the clearest sign you have a cooling problem rather than a slow PC.
The reading also names the fix: a slow climb means dust, a sudden shutdown means a stopped fan or pump, and one part ten degrees too hot means dried paste. Once you know which part is hot and why, you can act with confidence instead of guessing. For related hardware faults that share these symptoms, the hub of common PC problems connects this diagnosis to the rest of the troubleshooting guides.
Key Takeaways:
- Measure before you fix: read CPU and GPU temperatures with HWiNFO or Core Temp at idle and under load.
- A healthy CPU sits at 30 to 45 degrees idle and 60 to 85 under load; a healthy GPU stays under about 85 degrees while gaming.
- The danger ceiling is the chip maximum: 105 degrees on Intel Core Ultra and about 95 on AMD Ryzen, with the GPU hotspot safe to roughly 105.
- Thermal throttling, temperatures pinned at the limit while clocks fall, is the clearest sign of a real overheating problem.
- Load the CPU and GPU separately to find which part is at fault, since they have separate coolers.
- The symptom pattern names the cause: a slow climb is dust, a sudden shutdown is a stopped fan or pump, and one hot part is dried paste.
Frequently Asked Questions (FAQs)
How do I check if my PC is overheating?
Install a monitoring tool such as HWiNFO or Core Temp, open it in sensors mode, and read the CPU Package and GPU temperatures while the PC is idle and again under load. Compare the load figures to the safe ranges: a CPU holding in the 60s to 80s and a GPU under about 85 degrees Celsius is fine, while a CPU near 100 or a GPU pinned at its limit confirms overheating.
What temperature is too hot for a CPU?
A desktop CPU is too hot when it holds near its maximum junction temperature under load. That limit is 105 degrees Celsius on Intel Core Ultra chips and about 95 degrees on most AMD Ryzen processors. Both modern designs run their boost clocks right up to those numbers by design, so a brief touch is normal, but sitting there with clocks dropping is thermal throttling and a sign of a cooling fault.
What is a safe GPU temperature?
A graphics card running in the 60s to low 80s Celsius during gaming is safe, and brief spikes to 85 degrees are acceptable. The GPU hotspot or junction reading runs 10 to 25 degrees hotter than the core and is safe up to roughly 95 to 105 degrees. Sustained core temperatures above 85 degrees reduce lifespan and usually mean dust, a stopped fan, or poor case airflow.
How can I tell if my PC is thermal throttling?
Thermal throttling shows as temperatures rising to the chip limit while clock speeds fall at the same time under a constant load. In HWiNFO sensors mode, find the CPU Core Thermal Throttling line: if it reads Yes during a stress test, throttling is confirmed. In games it appears as frame rate drops and stutter after fifteen to twenty minutes of play.
How do I know whether my CPU or GPU is overheating?
Load each part on its own. Run a CPU stress test such as Prime95 with no game open and watch the CPU temperature; then run a GPU test such as FurMark and watch the GPU. The part that reaches its limit in isolation is the one with the cooling fault, because the CPU and the graphics card have separate coolers.
Is it normal for GPU fans to be off at idle?
Yes. Most modern graphics cards use a zero RPM mode that stops the fans below about 50 to 55 degrees Celsius to run silently. An idle reading of 40 to 55 degrees with the fans stopped is normal. If the card sits near 60 degrees or higher while doing nothing, check for background apps, dust, or weak case airflow.