A computer that will not turn on is almost always a power-path fault, not a software problem, and the first thing to try is the wall power: a dead outlet, a tripped surge protector, or the power supply switch set to off. Before opening the case, split the symptom into one of two paths. If there are no lights and no fans at all, the fault is somewhere between the wall outlet and the motherboard, so you work outward from the plug. If the fans spin and lights come on but nothing appears on screen, power is reaching the board and the problem is a failed POST or display, which is a separate guide. Naming which path you are on tells you where to look first.
What Causes a Computer Not to Turn On?
A computer does not turn on because power fails to reach or pass through the motherboard, and the cause sits in one of four areas on the electrical path from the wall to the board. The categories below are ordered by how often they occur, most frequent first.
Power supply and wall power
Loose connections
RAM or components
Motherboard or button
The symptom pattern narrows the cause quickly. Total silence with no lights points to wall power or the power supply. Fans that spin for a second then stop point to a short or a failed POST. Lights on with no fan spin point to a loose 24-pin or EPS connector. Fans that spin while the screen stays black are not a power fault at all and belong to the guide to a PC that powers on with no display.
| Symptom | Most Likely Cause |
|---|---|
| No lights, no fans, total silence | No wall power, PSU switch off, or failed PSU |
| Fans spin for one second then stop | Short circuit or failed POST |
| Lights on, no fan spin, no boot | Loose 24-pin or 8-pin EPS connector |
| Power button does nothing, board light on | Faulty power button or front-panel header |
| Fans spin, no display | RAM or GPU seating, not a power fault |
How Do You Fix a Computer That Will Not Turn On?
Work from the easiest and most likely fix to the hardest, stopping the moment the system powers on. Each step isolates one cause, so do them in order rather than jumping ahead. The first three need no tools.
- Test the outlet, cable, and surge protector. Plug a lamp or phone charger into the same outlet to confirm it has power. Bypass any surge protector or power strip by going straight to the wall, since a tripped strip cuts power silently. Swap in a known-good IEC C13 cable, and reset the wall breaker if the lamp test fails. This rules out the most common cause in under a minute.
- Confirm the PSU switch and main connectors. Set the rear power supply rocker to I, the on position, because O disables all output. Then press the 24-pin motherboard connector until its side latch clicks, and seat the 8-pin EPS connector at the top of the board near the CPU. The board does not power the processor without the EPS plug.
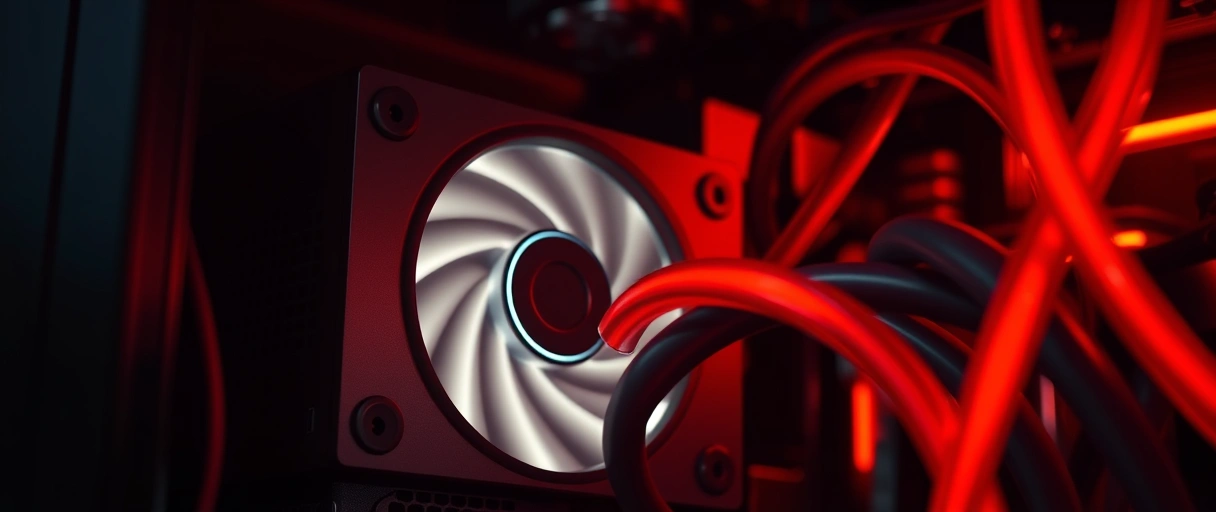
- Reseat the RAM and graphics card. Power off and unplug, press the clips on each RAM slot to release the modules, then reinsert each stick until both clips snap closed. Test with one known-good stick in the slot the manual specifies. Reseat the graphics card in the top PCIe x16 slot until the latch clicks, and reconnect its PCIe power cables.
- Clear the CMOS. Unplug the supply and press the case power button once to drain residual charge. Move the CLR_CMOS jumper from its default pins to the clear position for ten seconds (or hold the dedicated clear button), then return it. Never move the jumper with the PSU powered on. Replace the CR2032 battery if the board keeps losing settings.
- Strip to essentials and check the power button. Disconnect every USB device, external drive, storage drive, and non-essential expansion card, then try again and add parts back one at a time to find a shorted device. If a board standby light is on but the case button does nothing, briefly touch the two PWR_SW header pins with a screwdriver; if that starts the system, the case button or its lead is faulty.
- Test the PSU, then bench-test the build. Run the paperclip test to confirm the supply can start at all. If it can, remove the motherboard from the case and assemble only the CPU, cooler, one RAM stick, and the power supply on the box the board shipped in, then jump the PWR_SW pins. A board that runs outside the case but not inside confirms a case-standoff short; a board dead even on the bench points to a failed motherboard, CPU, or PSU. See the motherboard with no power guide for the deeper board checks.
How Do You Run the PSU Paperclip Test?
The paperclip test forces the power supply to start outside the system, which isolates a failed unit from a motherboard fault. It bridges the green PS_ON pin to a ground pin on the 24-pin connector, the same signal the motherboard sends when you press power.
- Unplug the power supply and disconnect every cable from the motherboard, drives, and graphics card before starting.
- Insert a bent paperclip into the green wire pin (PS_ON, pin 16) and any adjacent black ground pin on the 24-pin connector.
- Plug the supply into the wall and set the rear switch to I, then watch whether the PSU fan begins to spin.
- Judge the result: a spinning fan shows the unit can start, while a dead fan confirms a failed power supply that needs replacement.
The paperclip test confirms only that the supply turns on, not that every rail holds its correct voltage under load, so a multimeter or a dedicated PSU tester gives a fuller reading. A unit that passes the test but fails under load may be undersized or degraded. A system whose fans spin but whose screen stays black is not a PSU failure at all and belongs to the fans spin but no boot guide.
How Do You Reseat the RAM and Graphics Card?
Reseating fixes a dead or non-posting system caused by a memory module or card that lost contact in its slot. A part that vibrated loose during transport, or sat unseated after a build, can halt the power-on self-test, and some boards refuse to spin fans without detectable memory.
- Power off and unplug the system, then press the retention clips on each RAM slot to release the modules.
- Reinsert each RAM stick until both clips snap closed, because a module seated on one side only fails to make contact.
- Test with one stick in the slot the motherboard manual specifies, since a single known-good module isolates a faulty stick or slot.
- Reseat the graphics card in the top PCIe x16 slot until the latch clicks, then reconnect its PCIe power cables.
If the fans now spin but the screen stays black, the fault has moved from power to display or POST. Watch the debug LEDs: a stuck DRAM light points back to memory, while a stuck VGA light points to the graphics card. The full no-display path is in the PC turns on with no display guide.
When Is It the Motherboard, CPU, or Power Button?
If wall power, the PSU, the connectors, the RAM, and the CMOS all check out, the fault is the board, the CPU, or the start signal itself. These are the last things to suspect because they are the least common and the hardest to test.


- Faulty power button or header: if the board standby light is on but the case button does nothing, jump the two PWR_SW header pins with a screwdriver. If the system starts, the case button or its front-panel lead is at fault. The power switch lead has no polarity, so only the pin placement matters.
- Case-standoff short: a board that powers on outside the case but not inside it has an extra standoff shorting it against the case tray. Remove the stray standoff and remount the board.
- Dead motherboard or CPU: a board that stays dead even when bench-tested with only the CPU, cooler, one RAM stick, and the PSU points to a failed board, a failed CPU, or a PSU that cannot hold load. The motherboard with no power guide covers VRM, capacitor, and standby-voltage checks.
- Depleted CMOS battery: a board that powers on only after a CMOS clear, or keeps losing the date and boot order, needs a fresh CR2032 coin cell.
Last Thoughts on a Computer That Will Not Turn On
A computer that will not turn on is a power-path problem, so the fastest route to a fix moves outward from the wall outlet to the motherboard. Confirm wall power and the rear PSU switch, seat the 24-pin and EPS connectors, reseat the RAM and graphics card, clear the CMOS, strip the system to essentials, test the power button header, and finally bench-test the build. The single most useful habit is reading the symptom first: no fans and no lights means power, while fans that spin with a black screen means display or POST, which is a different guide entirely.
Each step isolates one cause, and the symptom table tells you where to start rather than working blind. From here you can continue with the fix for a PC that powers on with no display, the fix for fans that spin with no boot, the fix for a motherboard with no power, or the hub of common PC problems for related hardware faults.
Key Takeaways:
- A computer that will not turn on is almost always a power-path fault, not software, so your files are usually safe.
- Read the symptom first: no fans and no lights means power; fans spinning with a black screen means display or POST.
- Start with wall power, the outlet, cable, surge protector, and the rear PSU switch, before opening the case.
- Confirm the 24-pin and 8-pin EPS connectors are fully seated, then reseat the RAM and graphics card.
- Use the paperclip test to isolate a failed power supply, and clear the CMOS to rule out bad firmware settings.
- Bench-test the build to find a case short, and read the CPU, DRAM, VGA, and BOOT debug LEDs to see where startup stalls.
Frequently Asked Questions (FAQs)
Why won’t my computer turn on with no lights or fans at all?
Total silence with no lights and no fans points to the power path, not the operating system. The usual causes are a dead outlet, a tripped surge protector, a power supply rocker switch set to off, or a failed power supply. Test the outlet with a lamp, plug the PC straight into the wall, and confirm the rear PSU switch is set to I before opening the case.
What is the first thing to check when a PC will not power on?
Check wall power first, because it is the most common cause and takes seconds to rule out. Plug a lamp or phone charger into the same outlet, bypass any surge protector or power strip by going directly to the wall, swap in a known-good power cable, and make sure the power supply switch on the back of the case is on.
How do I know if my power supply is dead?
Run the paperclip test. With the PSU unplugged and disconnected from everything, bridge the green PS_ON pin (pin 16) to any adjacent black ground pin on the 24-pin connector, then plug in and switch on. A spinning fan shows the unit can start; a dead fan confirms a failed supply. The test does not prove the rails hold voltage under load, so a PSU tester or multimeter gives a fuller reading.
Can bad or unseated RAM stop a PC from turning on?
Yes. A module that vibrated loose or sits unseated can halt the power-on self-test, and some motherboards refuse to spin fans without detectable memory. Power off, press the slot clips to release each stick, reseat until both clips snap closed, and test with one known-good stick in the slot the manual specifies.
My fans spin but there is no display. Is that a power problem?
No. If the fans spin and lights come on, power delivery is working and the fault is a failed POST or a display issue, usually RAM, the graphics card, or a monitor cable. This is a different problem from a totally dead system, and the no-display troubleshooting guide covers it step by step.
What do the CPU, DRAM, VGA, and BOOT debug lights on my motherboard mean?
Most modern boards have four small debug LEDs labeled CPU, DRAM, VGA, and BOOT that light in sequence during startup. If one stays lit, that is the stage where progress stopped, so a stuck DRAM light points to memory and a stuck VGA light points to the graphics card. No debug light at all while the system stays dead usually points to a power supply fault.