To replace a power supply, switch off and unplug the PSU, hold the power button to discharge residual charge, photograph and disconnect every cable, unscrew and remove the old unit, mount the new PSU, then reconnect the 24-pin motherboard cable, the 8-pin CPU EPS cable, the GPU power cable, and SATA power before the first boot. The job needs a compatible replacement unit, a Phillips screwdriver, and the cable set in the box with the new PSU. The one rule that protects your hardware: never reuse modular cables across different PSU brands or models, because their pinouts differ and the wrong cable can short and fry components.
Replacing a power supply removes the old PSU from the case and mounts a new unit, then reconnects the 24-pin motherboard cable, the EPS CPU cable, the PCIe graphics cables, and the SATA power cables so every component receives power again. The work needs a compatible replacement PSU, a Phillips screwdriver, and the cables supplied with the new unit. This guide sizes the new PSU first, then works through the replacement in order, from powering down safely to the first boot.
How Do You Choose a Compatible Replacement PSU?
A replacement PSU has to match your case form factor, supply enough wattage with headroom, and carry the connectors your hardware needs. Check these four things before you buy:
Wattage and headroom
Form factor
Connectors
Efficiency and standard
How Do You Power Off and Discharge the System Safely?
Shut the computer down, switch the PSU off, pull the wall plug, then hold the power button to drain stored charge. A power supply holds residual voltage in its capacitors after the wall cable is removed, so this order matters.

- Shut down the operating system fully, not into sleep or hibernate.
- Flip the PSU switch to off (the O position) on the back of the unit.
- Unplug the power cable from the wall and from the PSU.
- Hold the case power button for several seconds. With no wall power, this drains the residual charge held in the unit’s capacitors.
- Touch bare metal on the case to ground yourself, or wear an anti-static strap, before you reach inside.
How Do You Photograph and Disconnect the Existing Cables?
Open the case, photograph every PSU cable in place, then disconnect each one by releasing its clip and pulling straight out. The photos are your map for reconnecting later.
- Open the side panel to expose the motherboard, drives, and the existing PSU.
- Photograph each connection with a phone: the 24-pin on the motherboard edge, the 8-pin EPS at the top near the CPU, the PCIe or 12V-2×6 on the graphics card, and every SATA power lead.
- Release the retention clip on each connector, then rock it gently along its long axis while pulling. Do not twist sideways or yank by the wires.
- Free the 24-pin last. It has the most pins and the most friction, so depress the clip fully and wiggle along the pin row, not across it.
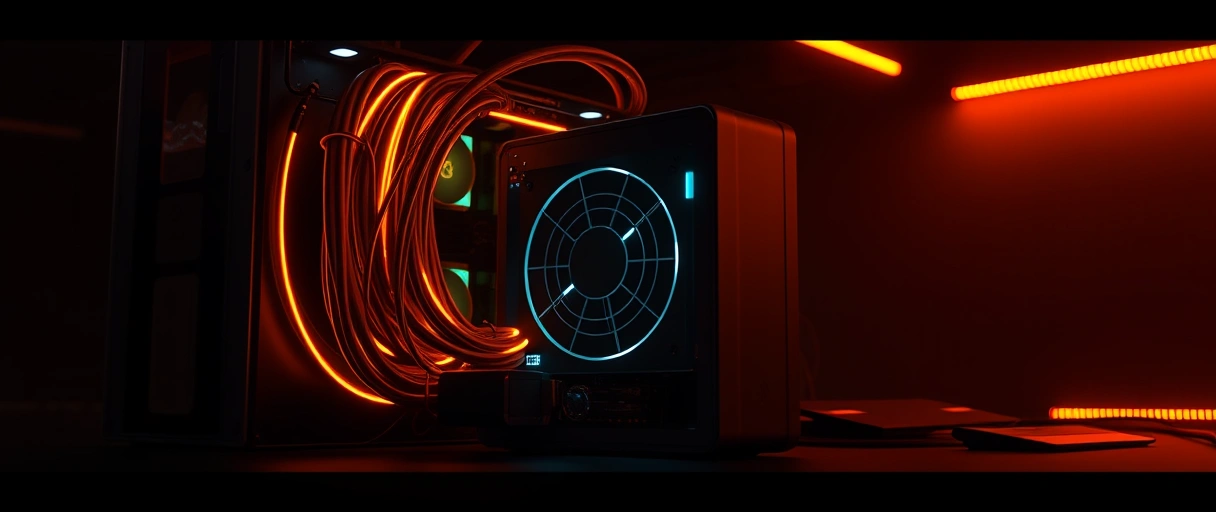
How Do You Remove the Old PSU and Mount the New One?
Unscrew the four mounting screws at the rear, slide the old unit out, then seat the new PSU and orient its fan for proper airflow.
- Remove the four screws that hold the PSU to the back of the case, supporting the unit so it does not drop onto the motherboard.
- Slide the old PSU out, guiding its cables clear of the case and components.
- Fit the new unit into the same bay and drive in the four screws.
- Set the fan orientation: fan-down if the case floor has a vent so it draws cool outside air, fan-up if the floor is solid. In an old top-mounted bay the fan faces into the case.
How Do You Reconnect the 24-Pin, EPS, GPU, and SATA Cables?
Plug in the new unit’s own cables one by one, pressing each home until its clip latches. Work from your photos and seat every connector fully.
- 24-pin ATX into the long socket on the motherboard edge. Push until the clip snaps over the tab.
- 8-pin EPS (or 4+4) into the CPU power socket at the top of the board. This feeds the processor and is easy to forget.
- GPU power: the PCIe 6+2 or the native 12V-2×6 cable into the graphics card. Push a 12V-2×6 plug all the way until it clicks, since a partial seat overheats and can melt.
- SATA power to each drive, and any Molex leads for fans or older devices.
- First boot: double-check the EPS and 24-pin, reconnect the wall cable, flip the PSU switch on, and power up. If nothing happens, the cause is usually a loose EPS or 24-pin, covered in fix a motherboard with no power.
Once the system posts, tidy the cabling away from fans and route the unused modular leads out of the airflow. This replacement is one task inside the wider build process in how to build a PC, and you can practice the same care on the other walkthroughs in our PC tutorials.
Estimates use typical TGP/TDP values (NVIDIA RTX 50, AMD RX 9000, current CPUs) plus a ~60 W system base, sized to about 50-60% load for the 80 Plus efficiency sweet spot. RTX 50-series cards also draw brief transient spikes above their rated wattage, so the headroom matters.


Last Thoughts on Replacing a Power Supply
Replacing a power supply is a methodical job rather than a difficult one. Size the unit so peak load lands near 50 to 60 percent of its rating, power down and discharge before you open the case, photograph every cable, and reconnect the 24-pin, the EPS, the GPU power, and SATA fully on the first boot. The single rule that protects your hardware is to use only the cables that came with the new unit, because modular pinouts are not shared across brands or models.
A PSU swap sits alongside fitting a drive, a cooler, or a graphics card in the same case. The hub on PC tutorials connects it to the rest of the hands-on guides.
Key Takeaways:
- Switch off the PSU, unplug the wall cable, then hold the power button to discharge residual charge before opening the case.
- Photograph every cable in place so you have a map for reconnecting the new unit.
- Reconnect the 24-pin, the 8-pin CPU EPS, the GPU power, and SATA, and seat each connector until its clip latches.
- Never reuse modular cables across different PSU brands or models; the pinouts differ and can fry components.
- Size the unit by multiplying peak draw by about 1.4, and prefer 80 Plus Gold with an ATX 3.1 and 12V-2×6 connector for a modern GPU.
- If the system will not post after the swap, suspect a loose EPS or 24-pin connector first.
Frequently Asked Questions (FAQs)
How do I replace a power supply step by step?
Switch off the PSU and unplug it from the wall, hold the power button for several seconds to discharge residual charge, photograph and disconnect every cable, unscrew and remove the old unit, mount the new PSU with the fan vented correctly, then reconnect the 24-pin, the 8-pin EPS, the GPU power, and SATA before the first boot.
Can I reuse my old modular cables with a new power supply?
No. Modular cables are not cross-compatible between PSU brands or models because the pinout on the PSU side is not standardized. A cable from one unit can map a 12V line to a ground pin on another, which can short and fry components. Always use the cables that ship in the box with the new PSU.
Do I need to discharge the power supply before replacing it?
Yes. After switching off the PSU and unplugging it, hold the case power button for several seconds. This drains the residual charge held in the unit’s capacitors so you work on a system with no stored power.
What size power supply do I need?
Add up the draw of your components, then size the PSU so your peak load sits near 50 to 60 percent of its rating. A common rule is to multiply estimated peak draw by about 1.4, so a 500W load points to a 700W to 750W unit. The extra headroom covers transient spikes and keeps the unit in its efficient range.
Which way should the power supply fan face?
If the case has a vented PSU shroud at the bottom, mount the unit fan-down so it pulls cool air from outside the case. If the floor is solid with no vent, mount it fan-up. In an old top-mounted bay the fan faces into the case.
What is ATX 3.1 and the 12V-2×6 connector?
ATX 3.1 is the current PSU standard built to handle the transient power spikes of modern GPUs. It uses the 12V-2×6 connector, an updated 16-pin GPU plug with longer power terminals and shorter sense pins that cut off the card if the plug is not fully seated, replacing the earlier 12VHPWR design.