
How to install RAM means seating memory modules into a motherboard’s DIMM slots, then enabling their rated speed in BIOS. It is a low-risk upgrade that improves multitasking, load times, and integrated-graphics performance. This guide covers the compatibility check, the numbered install sequence, the dual-channel slots, the XMP/EXPO profile, and what to do when a system does not boot afterward.
What Does Installing RAM Involve?
Installing RAM is seating memory modules into the DIMM slots and confirming the system recognizes them:
- Power down safely: shut down, switch off the PSU, and unplug before opening the case.
- Populate the correct slots: the dual-channel pair, normally A2 and B2 on a four-slot board.
- Lock each module: align the notch and press until both retention clips snap.
- Enable the speed profile: turn on XMP or EXPO in BIOS so the kit runs its rated speed, not the JEDEC default. Laptops use SO-DIMM slots behind a service panel, see the RAM form factor overview.
How Do You Check RAM Compatibility Before Installing?
Compatibility verification confirms the new modules match the motherboard and CPU before you buy or open the packaging. DDR4 and DDR5 are not interchangeable, the notch sits in a different place and the pin counts differ:
- Memory generation, match DDR4 or DDR5 to the board (the DDR4 versus DDR5 guide explains the difference).
- Maximum capacity, confirm the board and CPU support the total, commonly 128 GB or 192 GB on modern desktops.
- Slot count, two or four DIMM slots decide whether a kit can run dual channel.
- Rated speed and profile, verify the board supports the module data rate and its XMP or EXPO profile.
Crucial and Kingston offer system-scanner tools that return validated modules for a specific board. Best for: anyone unsure of the board model, the scanner removes the guesswork.
What Are the Steps to Install RAM?
RAM installation follows a fixed sequence that protects the components and ensures a successful boot. Work on a hard, non-carpeted surface and handle modules by the edges:
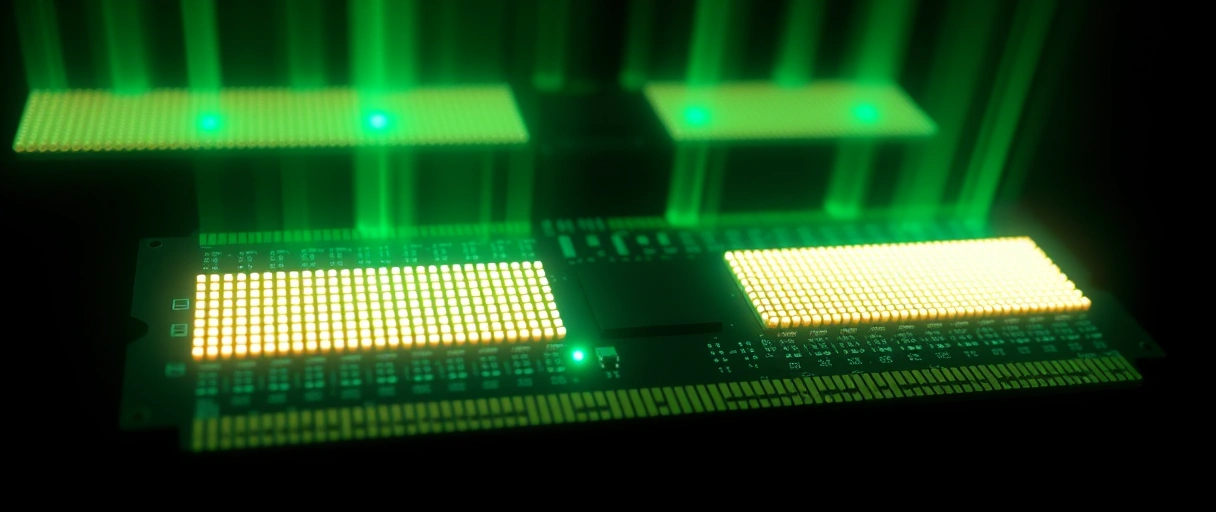
- Power off. Shut down, switch off the power supply, and unplug the power cable. Hold the power button a few seconds to drain residual charge.
- Ground yourself. Wear an anti-static wrist strap or touch a bare metal part of the case to discharge static before handling modules.
- Open the case. Remove the side panel to expose the motherboard and DIMM slots.
- Identify the slots. Locate the DIMM slots beside the CPU socket; they are labelled A1, A2, B1, B2.
- Pick the dual-channel pair. Check the manual, normally A2 and B2 (the 2nd and 4th from the CPU) for a single matched pair.
- Open the clips. Push the retention clips at the ends of the chosen slots fully open.
- Align the notch. The notch is offset, so the module fits one way only, never force it; flip it if it does not line up.
- Seat it. Press the module straight down with firm, even pressure on both ends until both clips click closed on their own.
- Add the second stick. Repeat in the matched slot to enable dual channel.
- Reconnect. Close the case, plug the power cable back in, and switch the PSU on.
- Enable the profile. Boot into BIOS/UEFI and turn on XMP (Intel) or EXPO (AMD) to run the rated speed. A DDR5 first boot may take 2-5 minutes to train memory, let it finish.
- Verify. Save and exit, then open Task Manager (or CPU-Z) to confirm the total capacity, speed, and dual-channel mode.
Why Enable XMP or EXPO After Installing RAM?
XMP and EXPO set the module to its advertised speed instead of the JEDEC default. Without an enabled profile, a DDR5-6000 kit runs at the DDR5 base of 4800 MT/s, leaving rated bandwidth unused:
- XMP (Intel): Intel Extreme Memory Profile stores the rated frequency, timings, and voltage in the module SPD (older ASUS boards call it DOCP; MSI calls it A-XMP).
- EXPO (AMD): AMD’s equivalent profile, tuned for Ryzen platforms.
- One step in BIOS: selecting the profile applies all the validated settings at once, detailed in the memory speed and timings explainer.
- Plus the second stick: a matched pair unlocks dual-channel bandwidth a single module cannot provide.
What If the Computer Does Not Boot After Installing RAM?
A no-boot after installation usually points to a seating or compatibility issue, not a faulty module. A board that posts with one stick but not two indicates a slot, channel, or profile problem; many boards light a memory diagnostic LED on a training failure:
- Reseat. Power down, unplug, and press each module firmly until both retention clips lock.
- Drop to one stick. Remove all but one module and place it in the primary slot named in the manual.
- Boot single. Confirm the system and that stick work on their own.
- Swap to isolate. Test the second module alone in the same slot to find a faulty stick.
- Clear CMOS. Reset BIOS if an aggressive XMP or EXPO profile is blocking memory training.
What Tools and Preparation Does RAM Installation Need?
RAM installation needs minimal tools but careful static control. Modules ship in anti-static packaging that should stay sealed until you are ready, and each is handled by its edges to avoid the gold contacts and chips:
Phillips screwdriver
Anti-static strap
Motherboard manual
Hard work surface
How Do You Install RAM in a Laptop?
Laptop installation uses SO-DIMM slots reached through a service panel, and the module goes in at an angle rather than straight down:



- Open the panel: remove the bottom cover or RAM access door to reach the SO-DIMM slots.
- Release the clips: spread the side clips holding the existing module so it pops up.
- Insert at an angle: seat the new module at about 30 degrees, then press it flat until the clips lock.
- Check it is upgradeable first: many ultrabooks solder memory to the board with no slot, a constraint covered in the form factor overview. Disconnect the battery where the design allows for extra safety.
How Do You Choose the Right RAM Capacity and Speed for an Upgrade?
Capacity and speed selection depends on the workload and the platform limits. Installing more capacity than the workload needs gives no benefit, and a data rate above the platform limit simply drops to the validated maximum:
16 GB
32 GB
64 GB+
Rated speed
Matching a kit to the workload, covered in how much RAM you need, prevents overspending while keeping headroom. A factory-matched dual-channel kit also secures the bandwidth gain a single module cannot. Best for: upgraders who want one purchase that lasts, size for the next two to three years, not just today.
How Do You Verify a RAM Installation Succeeded?
Verification confirms the system recognizes the full capacity and the rated speed:
- Task Manager: open the Performance tab and click Memory to read total capacity, active speed, and slots used.
- Capacity low? A total below what you installed means a module is not seated or not detected, reseat it.
- Speed low? A speed under the rated value means XMP or EXPO is not enabled in BIOS.
- CPU-Z: shows the same data plus the channel mode, confirming the pair runs in dual channel. Note CPU-Z lists half the MT/s number on DDR (3000 = DDR5-6000), because DDR transfers twice per clock.
RAM Installation Quick Reference
The table maps each phase of installation to its purpose and the key check:
| Phase | Action | Key Check |
|---|---|---|
| Preparation | Power off, unplug, ground yourself | No power and static discharged |
| Compatibility | Match DDR type, capacity, speed | Board manual or vendor list |
| Slot selection | Populate A2 and B2 for a pair | Manual-specified slots |
| Seating | Align notch, press until clips lock | Both clips closed |
| BIOS | Enable XMP or EXPO profile | Rated speed applied |
| Verification | Check Task Manager memory view | Full capacity and speed shown |
Last Thoughts on How to Install RAM
How to install RAM reduces to verifying compatibility, seating modules in the correct dual-channel slots, and enabling the rated speed profile in BIOS. The physical work is brief and reversible, and a methodical reseat-and-test routine resolves the rare no-boot. Confirming the DDR generation and slot layout in advance prevents most errors.
Readers can continue with single versus dual channel memory, review how much RAM a system needs, and return to the computer hardware guide for related upgrades.
Key Takeaways:
- Verify compatibility first, match DDR generation, capacity, slot count, and rated speed.
- Power off and ground yourself before touching any module to prevent static damage.
- Use the manual’s slots (usually A2 + B2) for a single matched pair to get dual channel.
- Align the keyed notch and lock both clips, press both ends straight down, never force it.
- Enable XMP or EXPO in BIOS so the kit runs its rated speed, not the 4800 MT/s DDR5 default.
- Let a DDR5 first boot train (a few minutes is normal) and verify capacity, speed, and channel in Task Manager or CPU-Z.
- Troubleshoot a no-boot by reseating and testing one stick at a time.
Frequently Asked Questions (FAQs)
Do I need to ground myself before installing RAM?
Grounding before installing RAM is recommended. Touching a bare metal part of the case or wearing an anti-static wrist strap discharges static that can damage memory chips during handling.
Which slots should I use for two RAM sticks?
Install two sticks in the A2 and B2 slots, normally the second and fourth from the CPU, to enable dual channel. The motherboard manual lists the exact recommended slots for a matched pair.
Why does my RAM run slower than its rated speed?
RAM defaults to the JEDEC base speed until an XMP profile on Intel or an EXPO profile on AMD is enabled in BIOS. Activating the profile applies the rated frequency, timings, and voltage.
My PC won’t boot after installing RAM. What do I do?
Power down, reseat each module until both clips lock, then test one stick at a time in the primary slot. Clearing CMOS resolves failures caused by an unstable memory profile.
Can I mix old and new RAM sticks?
Mixing sticks works best when capacity, speed, and timings match. Different modules can force a lower shared speed or prevent dual channel, so a matched kit is the reliable choice.
About the author

Nizam Ud DeenFounder and Tech Blogger
Muhammad Nizam Ud Deen Usman is the founder of theCoreiTech and the author of The Local SEO Cosmos. He has worked in search since 2014 as an SEO consultant for eCommerce stores and local businesses, specialising in eCommerce SEO, local SEO and technical SEO, and runs SEO Academy and the SEO Community from Multan, Pakistan. He also founded ORM Digital Solutions, a digital agency serving medium and large businesses, and holds a degree from the University of Education, Lahore (Multan Campus). Plerdy lists him among its Best 20+ SEO Experts in Pakistan. Nizam started theCoreiTech in 2012 to make computers easier to understand and use for everyone. More of his work is at nizamuddeen.com.
